How to Install Outdoor Solar Lights: A Step-by-Step Guide
How to install outdoor solar lights, you need to follow a simple process that includes selecting the right location, positioning the lights, attaching the mounting bracket, connecting the wiring, and securing the lights. Installing outdoor solar lights can provide an eco-friendly and cost-effective lighting solution for your outdoor space.
Whether you want to illuminate pathways, highlight landscaping features, or enhance the security of your property, How to Install Outdoor Solar Lights offers a convenient and sustainable option. In this guide, we will discuss the step-by-step process of installing outdoor solar lights, ensuring that you can enjoy the benefits of renewable energy while enhancing the aesthetics and functionality of your outdoor areas.
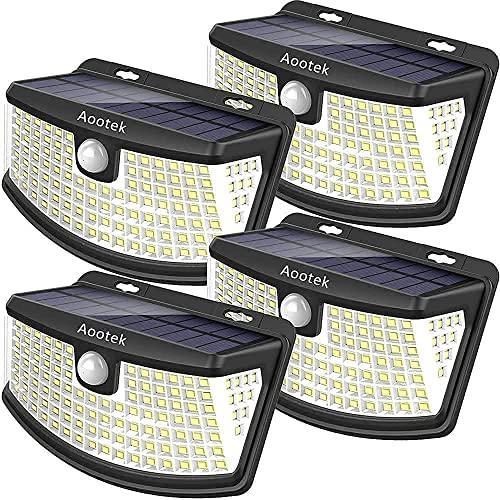
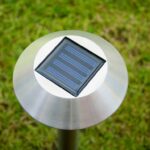
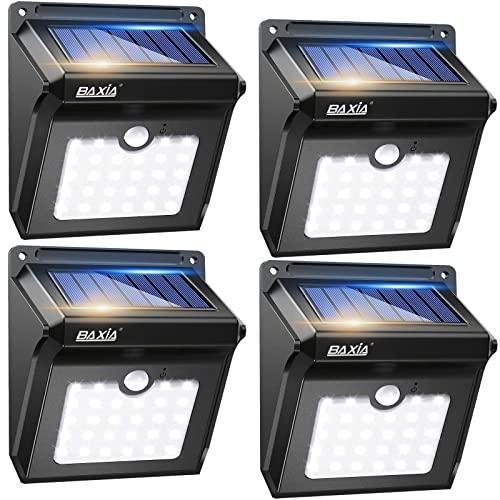
![Solar Outdoor Lights Motion Sensor [138 LED/6 Packs] Solar Security ...](https://lh7-us.googleusercontent.com/rJR1diRrE1vxwq5TWo_JGRHWJrrA51KuwhIGYkbIt5v2fYhXJsmj9wzuC48y90boUwO0cpq4zcXFdtl-JoK4z5jBHTOmKetB7HXHe83v4XudgUaeoU6VlfoXf4fyL-ZhHoJOHKAAhlCAenm77H7SYtE)


Selecting The Right Solar Lights
Choosing the perfect outdoor solar lights for your space can be both exciting and overwhelming. With so many options available, it’s important to consider several factors before making a decision. This section will guide you through the process of selecting the right solar lights for your outdoor area.
Factors To Consider When Choosing Solar Lights
When it comes to selecting solar lights for your outdoor space, keep in mind the following factors:
- Location: Determine where you want to place the solar lights. Consider areas that receive ample sunlight throughout the day to ensure efficient charging.
- Style and Design: Choose solar lights that complement the aesthetic of your outdoor area. Whether you prefer modern, traditional, or rustic designs, there are various options available to suit your taste.
- Functionality: Consider the purpose of the solar lights. Are you looking for decorative lights, security lights, or pathway lights? Different types of solar lights offer different functionalities.
- Budget: Set a budget for your outdoor solar lighting project. Determine how much you are willing to spend, keeping in mind that higher-quality solar lights will likely come with a higher price tag.
- Durability: Outdoor solar lights are exposed to the elements, so choose lights that are weather-resistant and made from durable materials to withstand harsh conditions.
Types Of Outdoor Solar Lights
Outdoor solar lights come in a variety of types, each serving a different purpose. Consider the following types to find the ones that best suit your needs:
| Type | Description |
| Solar Path Lights | These lights are perfect for illuminating pathways, driveways, or borders. They are usually stake-mounted and provide a gentle glow. |
| Solar Spotlights | Spotlights are designed to highlight specific features in your outdoor area, such as trees, statues, or landscape elements. They provide a focused beam of light. |
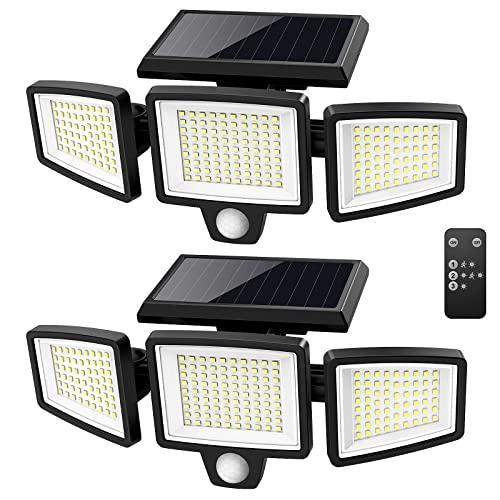
| Solar Flood Lights | If you need brighter and wider coverage, solar flood lights are ideal. They are perfect for security purposes, as they provide a broader illumination range. |
| Solar String Lights | String lights are popular for creating a festive ambiance in outdoor spaces. They are perfect for decorating patios, gazebos, or outdoor seating areas. |
Understanding Solar Light Brightness And Intensity
When choosing solar lights, it’s important to understand the concepts of brightness and intensity. Solar lights are measured in lumens, which indicates their brightness. Here’s a general guide to help you make the right choice:
- 10–30 lumens: suitable for decorative purposes, providing a soft and subtle glow.
- 30-100 lumens: Ideal for pathway lighting or accentuating specific features in your outdoor area.
- 100–300 lumens: Provides brighter illumination, suitable for security purposes or larger outdoor spaces.
- 300+ lumens: Offers a high level of brightness, perfect for flood lights or when you need maximum visibility.
By considering these factors, exploring different types of solar lights, and understanding brightness and intensity, you’ll be able to select the right outdoor solar lights that meet your needs perfectly.
Solar Light Prep Work Before Installation
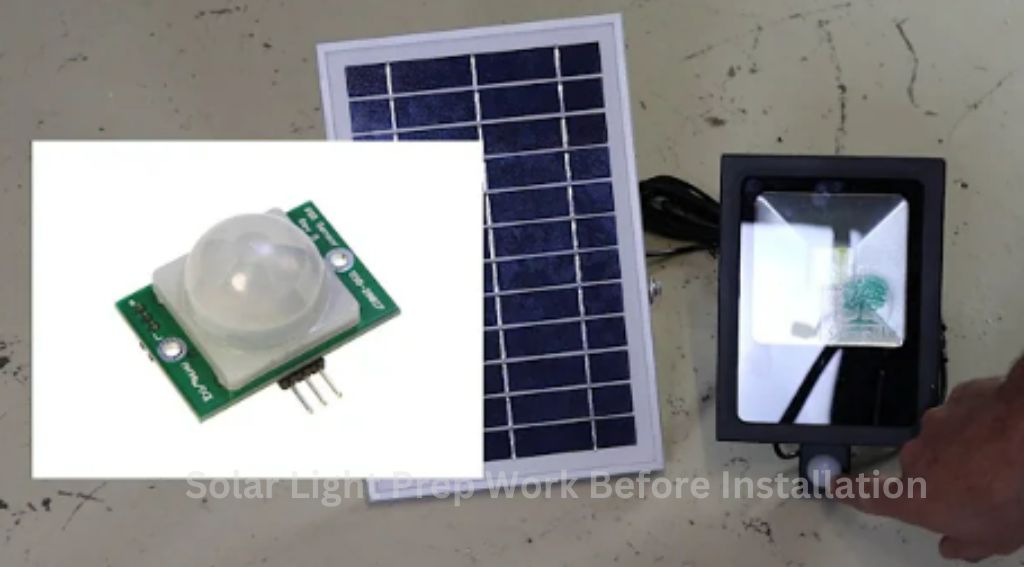
If you want to install outdoor solar lights in your garden or along your pathway, there are some important steps you need to take before diving into the installation process. This prep work before installation ensures that your solar lights will function properly and effectively. In this section, we will cover the key aspects of prep work, including evaluating sunlight exposure, assessing the installation area, and gathering the required tools and materials.
Evaluating Sunlight Exposure
Before installing outdoor solar lights, it is crucial to evaluate the amount of sunlight exposure in the chosen area. Solar lights rely on sunlight to charge the batteries that power them. Therefore, it is important to place them in areas that receive plenty of direct sunlight throughout the day.
Keep in mind that different areas of your garden may have varying levels of sunlight exposure due to factors such as trees or buildings casting shadows. To evaluate the sunlight exposure accurately, follow these simple steps:
- Observe the area during different times of the day to determine when it receives the most sunlight.
- Note any obstructions that may block sunlight, such as tall trees or structures.
- Consider the direction the solar lights will face and ensure that the chosen area allows for unobstructed sunlight exposure during the hours you want your lights to be powered.
Assessing the Installation Area
After evaluating the sunlight exposure, the next step is to assess the installation area for the outdoor solar lights. This involves considering the following factors:
- The type of terrain: Determine whether the installation area is on level ground or if it has slopes. This will help you position the solar lights correctly for stability and proper lighting.
- Accessibility: Ensure that the chosen area is easily accessible for installation and maintenance.
- Visibility: Consider the visibility of the solar lights from different angles and viewpoints. You want to position them in a way that enhances the overall aesthetics of your outdoor space.
Gathering the Required Tools and Materials
Before starting the installation process, gather all the necessary tools and materials to ensure a smooth and efficient setup. Here is a list of the essential items you will need:
| Tools | Materials |
| Screwdriver | Solar lights |
| Drill | Mounting brackets |
| Tape measure | Screws and anchors |
| Wire stripper | Wire connectors |
| Wire cutter | Batteries |
By gathering the required tools and materials beforehand, you can ensure that you have everything you need to complete the installation efficiently.
With the prep work completed, you are now ready to move on to the installation process. Taking the time to evaluate sunlight exposure, assess the installation area, and gather the necessary tools and materials will set you up for success in installing your outdoor solar lights.
Step 1: Planning The Solar Light Installation
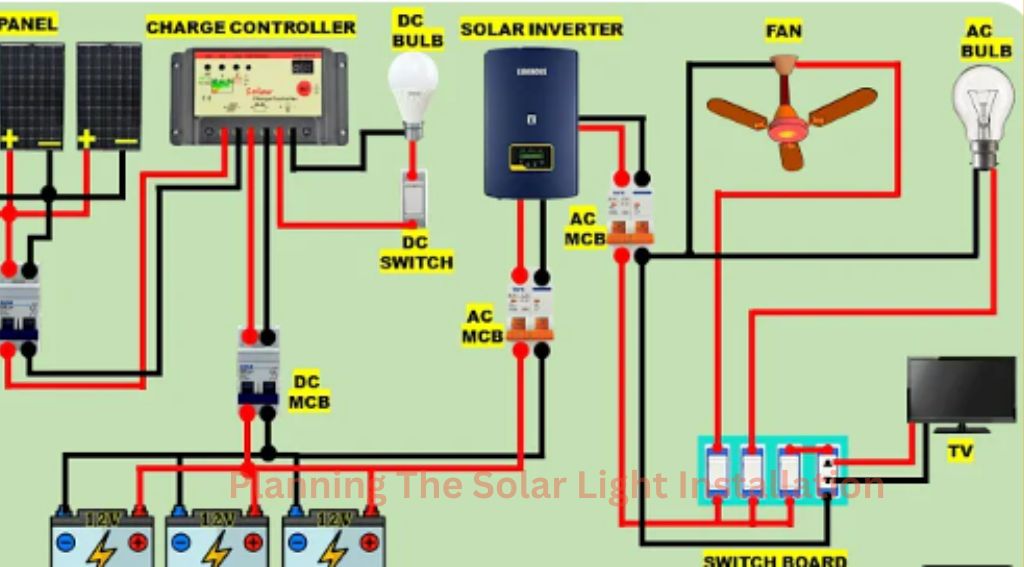
Before you dive into How to Install Outdoor Solar Lights, it’s essential to take the time to plan your installation. This step will help ensure that you achieve optimal results and avoid any potential hiccups along the way. In this article, we will walk you through the first step of the installation process: planning. Let’s get started!
Determining The Purpose And Placement
The first thing you need to do is determine the purpose of your outdoor solar lights. Are you looking to enhance the beauty of your garden, improve visibility for safety reasons, or create a cozy ambiance for evening gatherings? Identifying the purpose will guide you in selecting the right type and quantity of solar lights.
Once you have identified the purpose, it’s time to choose the optimal placement for your solar lights. Take a walk around your outdoor space and consider potential areas that would benefit from extra illumination. Keep in mind that solar lights require direct exposure to sunlight, so select locations that receive ample sunlight during the day. This will ensure optimal charging and functionality of your solar lights at night.
Measuring And Marking The Installation Area
Next, you need to measure and mark the installation area for your How to Install Outdoor Solar Lights. Start by measuring the distances between the selected placement spots and any nearby structures, such as walls or fences. This will help you determine the wiring length required and ensure the lights are evenly distributed.
How to Hang Solar Lights on Fence
Use a measuring tape or ruler to measure the distances accurately. Once you have the measurements, mark the installation area on the ground using stakes or spray paint. Doing so will provide a visual guide when it’s time to install the solar lights and ensure they are positioned correctly.
Considering Obstacles And Shading
Before finalizing the placement of your solar lights, it’s crucial to consider any potential obstacles or shading that might hinder their performance. Obstacles like trees, buildings, or structures can cast shadows and reduce the amount of sunlight reaching the solar panels.
Perform a thorough assessment of your outdoor space and make note of any potential obstacles during different times of the day. Choose a location that is relatively free from obstructions to maximize sunlight exposure and optimize the performance of your solar lights.
By taking the time to plan your solar light installation, you can ensure that your outdoor space is illuminated exactly the way you want it. Determining the purpose and placement, measuring and marking the installation area, and considering potential obstacles and shading are crucial first steps in the planning process. Once you have completed these steps, you are ready to move on to the next phase of the installation. Stay tuned for step 2!
Step 2: Installing Solar Light Fixtures
Assembling Solar Light Components
Before installing your outdoor solar lights, you need to assemble the different components to ensure they function properly. Here’s a step-by-step guide to assembling solar light components:
- Start by unpacking your solar lights and all the included parts.
- Attach the solar panels to the light fixtures using the provided screws.
- Connect the wires from the solar panels to the light fixtures. Make sure to match the positive and negative terminals.
- Secure the connections with electrical tape or wire connectors to ensure a stable and weatherproof connection.
- Check the instructions included with your solar lights to see if any additional steps are required for assembly.
Mounting Solar Lights On Different Surfaces
Mounting your solar lights on the right surface is crucial for their stability and performance. Here are some tips for mounting solar lights on different surfaces:
Mounting on Concrete or Brick
If you have a concrete or brick surface, follow these steps:
- Drill holes in the concrete or brick using a masonry drill bit.
- Insert plastic anchors into the drilled holes.
- Align the mounting brackets of the solar lights with the anchors.
- Secure the lights in place using screws, making sure they are level.
Mounting on Wood or Vinyl Siding
For wood or vinyl siding surfaces, follow these steps:
- Choose a location where the solar lights will receive plenty of sunlight.
- Mark the spots where you want to mount the lights.
- Drill pilot holes at the marked spots.
- Attach the mounting brackets of the solar lights to the pilot holes using screws.
Mounting on Other Surfaces
If you have other types of surfaces, like metal or plastic, consult the manufacturer’s instructions for specific mounting guidelines. They may provide specialized brackets or adhesive options for these surfaces.
Adjusting Solar Panel Positioning For Optimal Sunlight
To ensure your outdoor solar lights receive optimal sunlight and operate efficiently, it’s important to adjust the solar panel’s positioning. Follow these steps to maximize their exposure to sunlight:
- Choose a location with maximum sunlight exposure throughout the day.
- Angle the solar panel in the direction of the sun. For example, in the northern hemisphere, aim the panel towards the south.
- Use a compass or a smartphone app to determine the correct orientation.
- Adjust the tilt angle of the solar panel according to your latitude for optimal sunlight absorption.
- Make minor adjustments to the panel’s angle throughout the year to compensate for changes in the sun’s position.
Step 3: Connecting Solar Light Components
Now that you have positioned the solar panel and secured the battery pack, it’s time to connect the different components of your outdoor solar lights. This step is crucial to ensuring the proper functioning of your lights and the efficient utilization of solar energy. Follow the instructions below to seamlessly connect the solar panel, light fixture, and battery pack.
Connecting a Solar Panel to a Light Fixture:
The solar panel and light fixture are two essential components that need to be connected properly. This connection allows the solar panel to charge the battery pack, which ultimately powers the light fixture. To connect the solar panel to the light fixture, follow these steps:
- First, locate the cable coming from the solar panel. It usually has a male connector attached to the end.
- Next, find the female connector on the light fixture. It is designed to fit the male connector from the solar panel.
- Insert the male connector into the female connector until it clicks into place.
Once connected, make sure the connection is secure and free from any loose connections. A loose connection can prevent the solar panel from charging the battery pack effectively, leading to inadequate lighting performance.
Positioning and Securing the Battery Pack:
The battery pack is a crucial component because it stores the energy that the solar panel has generated during the day. Proper positioning and securing of the battery pack ensure its stability and protection. Follow these steps for positioning and securing the battery pack:
- Select a suitable location near the solar panel to place the battery pack. It should be easily accessible and protected from harsh weather conditions.
- Attach the battery pack securely to a wall or pole using the mounting brackets or straps provided. Make sure it is positioned vertically or as per the manufacturer’s instructions.
- Ensure that the battery pack is not obstructing the solar panel’s direct sunlight, as it needs uninterrupted exposure to charge efficiently.
Verifying Proper Wiring and Connections
Before completing the installation process, it is crucial to verify the proper wiring and connections of your outdoor solar lights. This step helps prevent any potential issues or malfunctions. Follow these guidelines to verify the wiring and connections:
- Check all the connections, including the solar panel-to-light fixture connection and the battery pack’s wiring.
- Ensure that all connections are tight and secure to avoid any loose wiring.
- Inspect the wires for any damage or signs of wear and tear. Replace any damaged wires immediately.
- Double-check the polarity of the connections, ensuring that positive and negative terminals are properly aligned.
- Once you have verified the wiring and connections, you can proceed with the final steps of installing your outdoor solar lights.
By following these steps for connecting solar light components, you are well on your way to enjoying the benefits of eco-friendly lighting. With a properly connected solar panel, battery pack, and light fixture, your outdoor solar lights will efficiently harness the power of the sun, illuminating your outdoor spaces while reducing your carbon footprint.
Step 4: Testing And Adjusting Solar Lights
Once you have successfully Install Outdoor Solar Lights, it’s important to test and adjust them to ensure optimal performance. This step will help you verify that the lights are working correctly and make any necessary adjustments to achieve the desired lighting effect.
Turning On The Solar Lights
To begin, locate the power switch on your solar lights. Typically, the switch can be found on the back or bottom of the solar panel. Flip the switch to the “on” position to activate the lights. Keep in mind that some solar lights may have an automatic sensor that turns them on at dusk and off at dawn, eliminating the need for a manual switch. While testing, it’s recommended to position the solar panel in direct sunlight for maximum charging.
Checking The Light Output And Duration
After turning on the solar lights, take a moment to evaluate the light output and duration. Observe the brightness and coverage of the light to ensure it meets your expectations. Allow the lights to operate for a full night to assess how long they stay illuminated. Note that solar lights’ performance may vary depending on factors such as sunlight intensity and battery capacity.
Troubleshooting Common Solar Light Issues
If you encounter any issues with your solar lights during testing, there are a few common problems to be aware of. Here are some troubleshooting tips to consider:
- Ensure that the solar panel is facing the sun and receiving direct sunlight. Shadows or obstructions can affect charging and light output.
- Check if the battery is fully charged. In some cases, solar lights may require a few days of sunlight exposure to reach optimal battery capacity.
- Inspect the solar panel for any dirt, debris, or blockages that might hinder its ability to absorb sunlight.
- Verify that the solar panel and light fixtures are securely mounted and properly aligned. Loose connections or misalignment can affect performance.
By following these troubleshooting steps, you can address common issues and ensure your How to Install Outdoor Solar Lights are functioning as intended. Remember, testing and adjusting your solar lights is an essential part of the installation process. By taking the time to evaluate the light output and duration, as well as troubleshoot any potential issues, you can enjoy the benefits of eco-friendly and cost-effective outdoor lighting for years to come.
Step 5: Maintaining Outdoor Solar Lights
Once you have successfully installed your outdoor solar lights, it is crucial to regularly maintain them to ensure optimal performance and longevity. By following a few simple maintenance steps, you can keep your solar lights shining brightly and efficiently for years to come.
Cleaning And Caring For Solar Panels
The solar panels on your outdoor solar lights are responsible for converting sunlight into electricity. Over time, these panels may accumulate dirt, dust, or debris, which can impact their efficiency. To keep your solar panels clean:
- Remove any loose dirt or debris using a soft brush or cloth.
- Wipe the surface of the panels with a damp cloth to remove any stubborn stains or grime.
- Regularly check for any signs of damage, such as cracks or scratches, and replace the panels if necessary.
Replacing Batteries And Light Bulbs
Even the best solar panels will require occasional battery and light bulb replacements to maintain their performance. Here’s how you can ensure your solar lights stay in top-notch condition:
- When replacing the batteries, carefully remove the old ones and dispose of them properly.
- Insert the new batteries into the solar light according to the manufacturer’s instructions.
- Replace the light bulbs if they become dim or stop functioning altogether. Refer to the user manual to determine the type and size of the replacement bulbs needed.
- Make sure to handle the batteries and light bulbs with care to avoid any damage.
Extending The Lifespan Of Solar Light Fixtures
To maximize the lifespan of your outdoor solar lights, consider the following tips:
- Protect your solar lights from harsh weather conditions by positioning them in areas where they are less likely to be exposed to extreme temperatures, heavy rain, or snow.
- Regularly check the connections to ensure they are secure and free from corrosion.
- Replace any damaged or worn-out components promptly to prevent further damage.
- Consider using a silicone-based lubricant on moving parts to prevent stiffness or rust.
- Periodically inspect the overall condition of your solar lights to detect any potential issues early on.
By incorporating these simple maintenance practices into your routine, you can extend the lifespan of your outdoor solar lights and enjoy their benefits for many years. Remember, proper care and regular upkeep will ensure that your solar lights continue to provide beautiful and energy-efficient illumination for your outdoor spaces.
Frequently Asked Questions On How To Install Outdoor Solar Lights
Are solar lights easy to install?
Solar lights are incredibly easy to install. They require no wiring or complicated setups. Simply place them in a sunny spot, and they will charge during the day and automatically illuminate at night. You can easily add them to your outdoor space without any hassle.
Do outdoor solar lights need wiring?
No, outdoor solar lights do not need wiring. They operate using solar panels that convert sunlight into electricity, which is stored in batteries. This stored energy powers the lights at night, eliminating the need for any external wiring or electrical connection.
Do solar lights need to be plugged in?
No, solar lights do not need to be plugged in. They work by harnessing sunlight, which is converted to energy and stored in batteries for use at night.
How do outdoor solar lights work?
How to Install Outdoor Solar Lights works by converting sunlight into electricity through photovoltaic cells. This electricity is stored in rechargeable batteries and used to power the lights at night. The lights typically have a sensor that detects when it is dark and automatically turns them on.
They are a cost-effective and eco-friendly option for outdoor lighting.
Conclusion
How to Install Outdoor Solar Lights is a smart way to illuminate your outdoor space while saving energy. By following these simple steps, you can effortlessly install solar lights and enjoy the benefits they bring. Remember to choose a suitable location, assemble the components correctly, and maintain the lights regularly.
With outdoor solar lights, you can enhance the beauty of your landscape, improve safety, and reduce your carbon footprint. So go ahead, embrace solar power, and brighten up your outdoor space today!