How to Install Solar Light at Home: A Complete Guide to Brightening Your Space
Learn how to install solar light at home. Start by choosing a suitable location and ensuring that it receives ample sunlight. Then, attach the solar panel and light fixture securely, connecting the wires as per the manufacturer’s instructions.
(Introduction) Solar lights are an energy-efficient and eco-friendly way to illuminate your home’s exterior. Not only do they help save electricity costs, but they also contribute to a sustainable environment. Installing solar lights at home is a simple process, and this article will guide you on how to do it effectively.
You’ll learn how to choose the right location, securely attach the solar panel and light fixture, and connect the wires correctly. By following these steps, you’ll be able to enjoy well-lit outdoor spaces powered by the sun’s energy. Let’s get started!
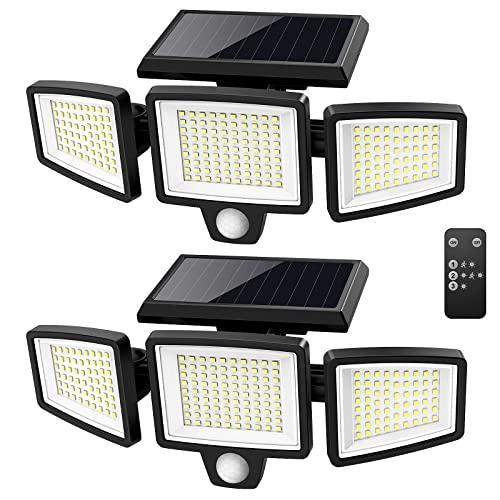
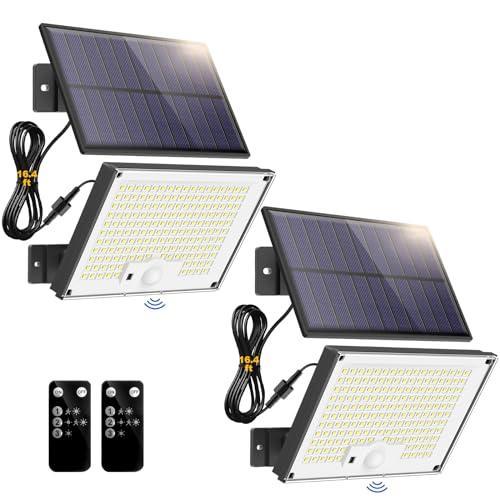
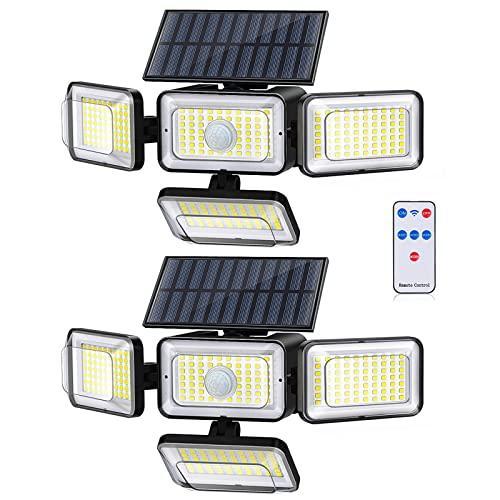
![Solar Outdoor Lights Motion Sensor [138 LED/6 Packs] Solar Security ...](https://lh7-us.googleusercontent.com/rJR1diRrE1vxwq5TWo_JGRHWJrrA51KuwhIGYkbIt5v2fYhXJsmj9wzuC48y90boUwO0cpq4zcXFdtl-JoK4z5jBHTOmKetB7HXHe83v4XudgUaeoU6VlfoXf4fyL-ZhHoJOHKAAhlCAenm77H7SYtE)


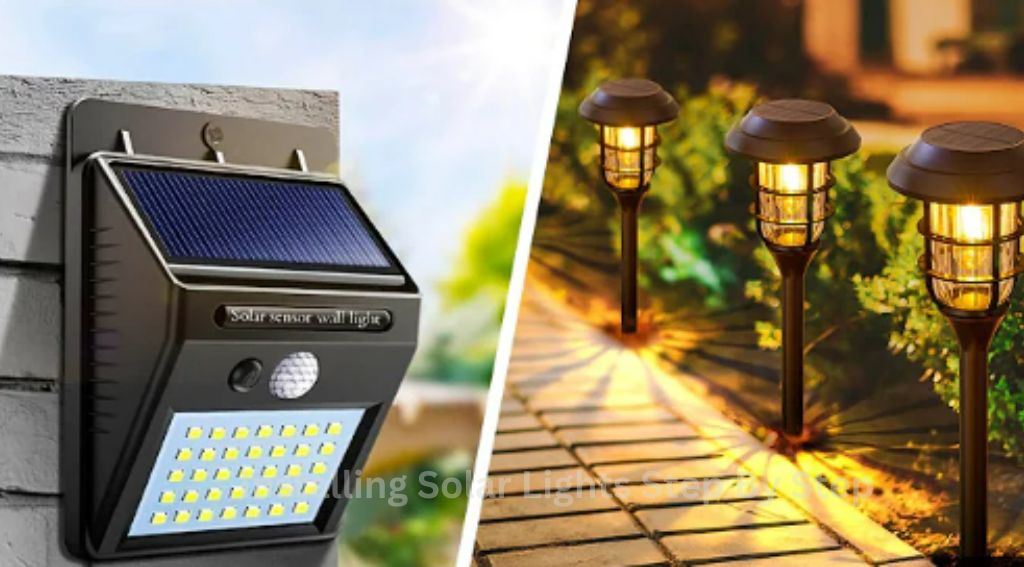
Choosing The Right Solar Light For Your Home

Factors To Consider When Selecting Solar Lights
When it comes to choosing the right solar lights for your home, there are several factors that you should consider. By taking the time to evaluate these factors, you can ensure that you select solar lights that are not only effective but also tailored to meet your specific needs.
Here are the key factors to keep in mind:
- Brightness: Determine how bright you want your solar lights to be. Consider the area you want to illuminate and choose lights with appropriate brightness levels.
- Runtime: Evaluate the runtime of the solar lights. Look for lights that can provide ideal illumination throughout the night.
- Design: Consider the design of the solar lights and ensure they complement the aesthetics of your home. You want lights that not only function well but also enhance the look of your outdoor space.
- Weather resistance: Check if the solar lights are weather-resistant. This is particularly important if you live in an area prone to extreme weather conditions.
- Battery capacity: Assess the battery capacity of the installed solar light at home. Opt for lights with a higher battery capacity for longer-lasting performance.
- Installation: Consider the installation process for the solar lights. Look for lights that are easy to install and have clear instructions.
Understanding The Different Types Of Solar Lights Available
Now that you’re aware of the factors to consider, it’s time to delve into understanding the different types of solar lights that are available. Here are the most common types:
| Type | Description |
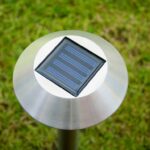
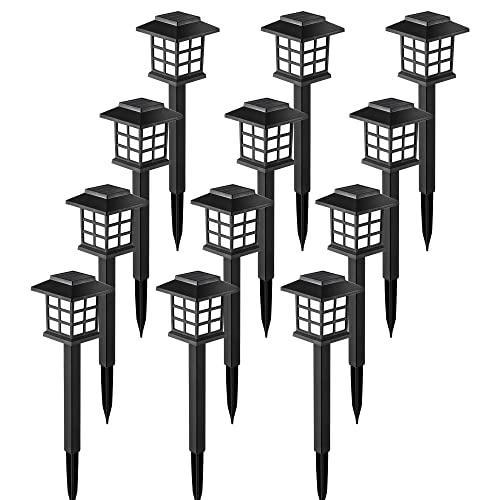
| Solar Path Lights | These lights are perfect for illuminating walkways, driveways, or garden paths. They are typically staked into the ground and provide low-level lighting. |
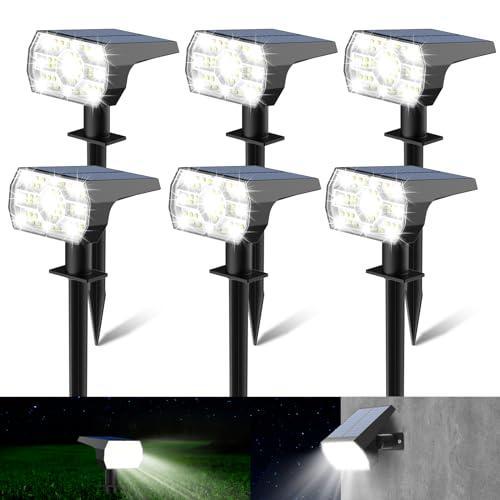
| Solar Spotlights | Spotlights are ideal for highlighting specific features of your landscape, such as trees, statues, or architectural elements. These lights provide a more focused and intense beam of light. |
| Solar Flood Lights | Designed to provide broad, powerful illumination, flood lights are great for lighting up larger areas such as yards, parking lots, or outdoor sports courts. |
| Solar String Lights | String lights are perfect for creating a festive and inviting ambiance. They can be hung across outdoor spaces, such as patios or pergolas, and provide a warm and cozy glow. |
Comparing The Pros And Cons Of Each Type Of Solar Light
Now that you have a better understanding of the different types of solar lights, it’s important to weigh the pros and cons of each type before making a decision.
Here’s a comparison of the pros and cons:
- Solar Path Lights
- Pros: Easy installation, affordable, creates a stunning pathway.
- Cons: not very bright; requires direct sunlight for optimal performance.
- Solar Spotlights
- Pros: excellent for highlighting focal points; adjustable settings; long-lasting performance.
- Cons: More expensive than path lights, they may require additional adjustments for optimal positioning.
- Solar Flood Lights
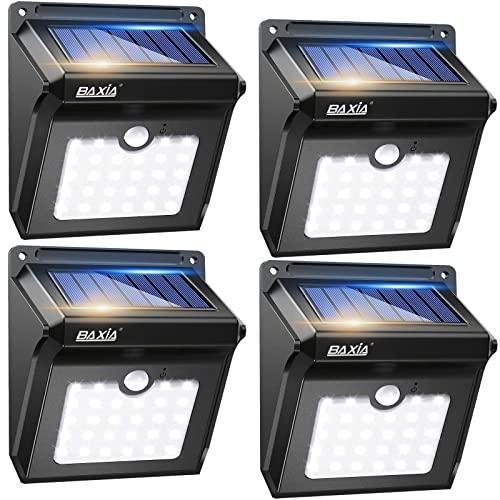
- Pros: wide coverage, bright illumination, great for security purposes.
- Cons: A higher initial cost, larger in size, may not be suitable for smaller spaces.
- Solar String Lights
- Pros: It is decorative and versatile, creates a and is suitable for various outdoor spaces.
- Cons: Less focused illumination may require more setup time.
By understanding the pros and cons, you can make an informed decision and select the solar lights that best suit your home and preferences.
Assessing Your Light Needs And Budget
Assessing your light needs and budget is essential before installing solar lights at home. By determining the purpose and location of your solar light installation, calculating the amount of light needed for your space, and setting a budget for your project, you can ensure a successful and cost-effective installation. Let’s dive into each aspect:
Determining The Purpose And Location Of Your Solar Light Installation
Before you start installing solar lights at home, it’s important to determine the purpose and location of your installation. Are you looking to illuminate your backyard for aesthetics or enhance security around your front porch? Identifying the purpose will help you choose the appropriate type of solar lights and decide where they should be placed.
Calculating The Amount Of Light Needed For Your Space
Calculating the amount of light needed for your space is crucial to ensuring optimal visibility and efficiency. Start by assessing the size and layout of the area you want to light up. Consider the specific activities that will take place in that area, such as outdoor dining or reading, to determine how bright the lights should be. This will help you choose the appropriate lumen output for your solar lights.
Setting A Budget For Your Solar Light Project
Setting a budget for your solar light project is an important step to avoid overspending and ensure a successful installation. Begin by researching the cost of different types of solar lights and comparing prices from different suppliers. Consider the lifespan and quality of the lights to make an informed decision. Additionally, factor in any additional costs like installation or maintenance to estimate your total budget accurately.
Once you’ve assessed your light needs and budget accurately, you are all set to install solar lights at home. Remember to choose high-quality solar lights that match your requirements and budget. Happy installation!
Installing Solar Lights Step By Step
When it comes to embracing sustainable living, installing solar lights at home is a great way to reduce your carbon footprint and save on energy costs. With their easy installation and low maintenance, solar lights have become increasingly popular among homeowners. In this blog post, we will guide you through the step-by-step process of installing solar lights, ensuring that you can enjoy the benefits of clean energy in no time.
Preparing The Installation Area
Before starting the installation process, it is important to prepare the designated area properly. Begin by removing any debris and vegetation that may obstruct the installation. Clearing the area will ensure that your solar light can receive maximum sunlight exposure, allowing it to function optimally.
Ensuring Proper Sun Exposure
Install solar light at home and rely on sunlight to recharge their batteries. Therefore, it is essential to ensure that your installation area receives adequate sunlight throughout the day. Determine the location of your solar light where there is the most sunlight and where there are no nearby trees or buildings to block it.
Assembling The Solar Light Components
Before installation, assemble the various components of your solar light at home. These typically include the solar panel, light fixture, battery, and controller. Follow the manufacturer’s instructions to ensure that the components are securely and correctly assembled. This step is crucial for the proper functioning of your solar light.
Connecting The Solar Panel To The Light Fixture
The solar panel is responsible for converting sunlight into electricity, which is stored in the battery. To connect the solar panel to the light fixture, locate the designated wiring connectors on both components. Ensure that the connections are secure and properly insulated to prevent any electrical issues.
Installing The Battery And Controller
Once the solar panel and light fixture are connected, install the battery and controller. These components are typically housed inside the light fixture. Open the light fixture carefully, following the manufacturer’s instructions, and securely place the battery and controller. This step is crucial for powering the light during nighttime hours.
Mounting The Solar Light
Choosing the appropriate mounting method is essential for the stability and proper positioning of your solar light. There are various options available, such as wall mounting, ground mounting, and pole mounting. Consider the specific requirements of your installation area and choose the most suitable method.
Ensuring Stability And Proper Positioning
Regardless of the mounting method chosen, it is crucial to ensure the stability and proper positioning of your solar light. This will prevent any accidents or damage caused by strong winds or other external factors. Securely attach the solar light to the mounting surface, following the manufacturer’s instructions, and adjust its position to maximize sunlight reception.
Wiring And Electrical Setup
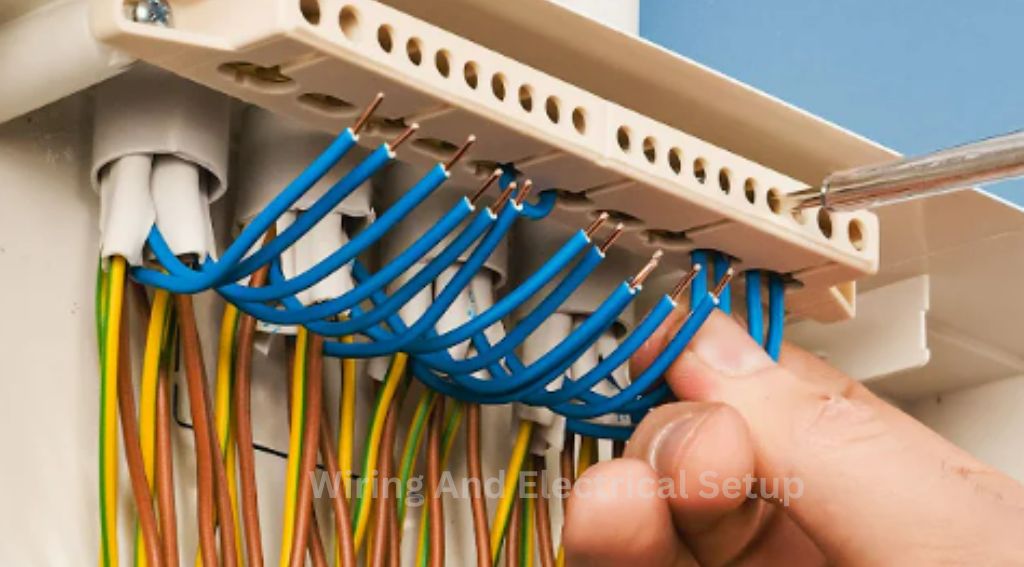
Understanding Basic Electrical Connections For Solar Lights
One of the key aspects of installing solar lights at home is understanding the basic electrical connections required. By comprehending how the different components work together, you can ensure the smooth functioning of your solar light system. Let’s dive into the fundamental electrical connections involved in this process.
Connecting The Solar Panel To The Battery And Controller
To harness the power of the sun, connecting the solar panel to the battery and controller is crucial. Here’s a step-by-step guide on how to achieve this connection:
- Identify the positive and negative terminals of both the solar panel and the battery.
- Using solar PV cables, connect the positive terminal of the solar panel to the positive terminal of the charge controller.
- Similarly, connect the negative terminal of the solar panel to the negative terminal of the charge controller.
- Next, connect the positive terminal of the battery to the positive terminal of the charge controller.
- Finally, connect the negative terminal of the battery to the negative terminal of the charge controller.
This series of connections enables the solar panel to charge the battery and, in turn, power your solar lights seamlessly.
Configuring The Settings For Optimal Performance
To ensure that your solar lights operate at their best, it’s important to configure the settings for optimal performance. The charge controller plays a significant role in achieving this. Here are a few settings you can adjust to maximize efficiency:
- Charge voltage: Adjusting the charge voltage ensures that the battery is charged to the appropriate level.
- Load control: This setting allows you to specify when the lights should turn on and off, optimizing energy consumption.
- Battery type: Selecting the correct battery type on the charge controller ensures optimal charging and discharging cycles.
- Load priority: By prioritizing the load connected to the solar lights, you can allocate power efficiently.
By configuring these settings according to your requirements, you can optimize the performance of your Install Solar Light at Home and extend its lifespan. With a solid understanding of the basic electrical connections, connecting the solar panel to the battery and charge controller, as well as configuring the settings for optimal performance, you are now ready to install solar lights efficiently at home. Embracing solar energy not only helps you save on electricity bills but also contributes to a greener and more sustainable future.
Maintenance And Troubleshooting Tips
Maintaining and troubleshooting your installed solar light at home is essential to ensuring optimum performance and longevity. Regular cleaning and maintenance play a crucial role in maximizing the efficiency of solar panels and light fixtures. Additionally, knowing how to troubleshoot common issues will help you address any problems that may arise promptly. By following these maintenance and troubleshooting tips, you can extend the lifespan of your solar lights and enjoy their benefits for years to come.
Regular Cleaning And Maintenance Of Solar Panels And Light Fixtures
Regular cleaning of solar panels and light fixtures is important to keep them functioning at their best. Here are a few tips to help you maintain their efficiency:
- Clean the solar panels at least once every three months. Use a soft cloth or sponge with a mild soapy solution to gently wipe away any dirt, dust, or grime that may have accumulated.
- Inspect the panels for any signs of damage, such as cracks or loose connections. If you notice any issues, contact a professional for repair or replacement.
- Check the light fixtures for debris or blockages that may obstruct the light output. Remove any leaves, twigs, or other obstructions that might be covering the sensors or blocking the light.
- If the light fixtures are not positioned optimally to receive sunlight, adjust their angle or reposition them to ensure maximum exposure to sunlight.
- Replace any broken or malfunctioning parts promptly to prevent further damage to the Install Solar Light at Home system.
Troubleshooting Common Issues With Solar Lights
Despite regular maintenance, solar lights might encounter common issues that require troubleshooting. Here are a few problems you might encounter and steps to troubleshoot them:
- No lighting during nighttime: Ensure that the solar lights are placed in an area that receives direct sunlight for at least 6–8 hours. Check if the solar panels are clean and unobstructed. If the issue persists, the batteries might need replacement.
- Inconsistent lighting: Check if the solar panels are positioned correctly and receiving adequate sunlight. Clean the panels to remove any dirt or dust that may be impacting their efficiency. If the problem persists, the batteries or LEDs may need replacement.
- Dim lighting: If you notice a reduction in the brightness of the solar lights, clean the panels and check for any blockages. Additionally, check the batteries and replace them if necessary.
- Auto On/Off not working: Ensure that the solar lights are properly positioned and not exposed to artificial light sources, which might interfere with their sensors. If the problem continues, consider replacing the sensor or contacting a professional for assistance.
Extending The Lifespan Of Your Solar Lights
To ensure the long-term functionality of your solar lights, consider the following tips:
- Protect during extreme weather: In severe weather conditions such as storms or heavy snowfall, it is advisable to temporarily remove the solar lights and store them indoors to prevent damage.
- Replace rechargeable batteries when needed. Over time, the batteries in solar lights may lose their capacity. Replace them with high-quality rechargeable batteries to maintain optimal performance.
- Annual inspection: Conduct a thorough annual inspection of your solar lights, including the panels, fixtures, and connections. Repair or replace any damaged or worn-out parts to prevent further deterioration.
- Follow the manufacturer’s instructions: Always refer to the manufacturer’s instructions for specific maintenance recommendations and guidelines to ensure you are properly caring for your solar lights.
Additional Enhancements For Your Solar Lighting System
Congratulations on starting your solar lighting system at home! You have taken a step towards energy efficiency and sustainability. But why stop there? There are a few additional enhancements you can consider to maximize the functionality and convenience of your solar lights. Let’s explore some options that will take your solar lighting system to the next level.
Adding Timers And Motion Sensors To Your Solar Lights
To further optimize the performance of your install solar light at home consider adding timers and motion sensors. Timers allow you to control when your lights turn on and off, ensuring they only operate during specific hours of the day or night. This helps conserve energy and extends the battery life of your Installed light at home. Motion sensors, on the other hand, detect movement and activate the lights accordingly. They provide added security and convenience, illuminating your outdoor areas only when needed. To integrate timers and motion sensors into your solar lighting system, follow these steps:
- Identify the suitable locations for timers and motion sensors.
- Check the compatibility of the timers and motion sensors with your existing solar lights.
- Follow the manufacturer’s instructions for installation, ensuring proper wiring and placement.
- Configure the settings according to your preferences.
Upgrading To More Advanced Solar Lighting Technologies
If you want to take your solar lighting system to the next level, it may be worth considering an upgrade to more advanced solar lighting technologies. These technologies offer enhanced efficiency, durability, and performance. Some popular advanced solar lighting options include:
- Solar streetlights are ideal for illuminating roads, pathways, and large outdoor areas.
- Solar spotlights are perfect for highlighting specific features in your garden or landscape.
- Solar floodlights are designed to provide bright, wide-angle illumination for increased security.
- Solar lanterns are portable and versatile lighting solutions that can be used indoors or outdoors.
Explore these options and choose the ones that best suit your needs, maximizing the benefits of your solar lighting system.
Expanding Your Solar Lighting System For Larger Spaces
If you have a larger outdoor area or you want to expand your Install Solar Light at Home coverage, you can easily expand your solar lighting system. Here’s what you need to do:
- Assess the size and illumination requirements of the space you want to cover.
- Calculate the additional solar lights you need to achieve the desired lighting effect.
- Ensure proper spacing and positioning of the solar lights for optimal coverage.
- Connect the new solar lights to your existing solar lighting system following the manufacturer’s instructions.
By expanding your solar lighting system, you can create a well-lit and aesthetically appealing outdoor environment, allowing you to enjoy your outdoor spaces even during the night.
Frequently Asked Questions For How To Install Solar Light At Home
How Do You Install Outdoor Solar Lights?
To install outdoor solar lights, follow these steps: 1. Choose a location with direct sunlight. 2. Place the solar panel in that area. 3. Attach the light fixture wherever desired. 4. Connect the solar panel and fixture. 5. Test the lights to ensure they are working.
Are solar lights easy to install?
Yes, solar lights are easy to install. They require no wiring or complicated setup. Just place them in a sunny spot, attach the mounting bracket, and they’re ready to use.
Do solar lights need wiring?
Solar lights do not require wiring. They operate using solar energy from the sun’s rays, which is stored in a built-in battery. This battery powers the lights, eliminating the need for complicated wiring installation. Simply place the lights in a sunny spot and enjoy the eco-friendly illumination.
Do solar lights need an outlet?
No, solar lights do not need an outlet. Sunlight serves as their source of energy, which powers the bulbs. This makes solar lights great for outdoor lighting since they can be placed anywhere without the need for an electrical outlet.
Conclusion
By following these steps, you can easily Install Solar Light at Home. From choosing the right location to assembling and mounting the lights, the process may seem daunting at first, but with the right resources and guidance, it becomes much simpler.
Not only will solar lights save you money on electricity bills, but they also contribute to a greener and more sustainable future. Embrace the benefits of solar energy and brighten up your surroundings with eco-friendly lighting solutions.