How to Install Solar Motion Sensor Light?
To install solar motion sensor light, position the light in a sunny location, attach it securely and ensure the solar panel receives sufficient sunlight for charging. Solar motion sensor lights are an excellent option for enhancing home security and illuminating outdoor spaces, all while being environmentally friendly.
These lights harness the energy from the sun to power their motion sensor functionality, making them a cost-effective and low-maintenance option. Installing a solar motion sensor light is a simple process that can be completed by following a few basic steps.
We will walk you through the installation process, providing you with all the necessary guidance to complete the task efficiently and effectively.
![Solar Outdoor Lights Motion Sensor [138 LED/6 Packs] Solar Security ...](https://lh7-us.googleusercontent.com/rJR1diRrE1vxwq5TWo_JGRHWJrrA51KuwhIGYkbIt5v2fYhXJsmj9wzuC48y90boUwO0cpq4zcXFdtl-JoK4z5jBHTOmKetB7HXHe83v4XudgUaeoU6VlfoXf4fyL-ZhHoJOHKAAhlCAenm77H7SYtE)


Understanding: How to Install Solar Motion Sensor Light?
When it comes to outdoor lighting, solar motion sensor lights have become increasingly popular. These innovative lights not only provide bright illumination but also offer added security to your home or outdoor space. In this section, we will delve into the details of solar motion sensor lights, including what they are, the benefits of using them, and the different types available.
How Long Do Solar Lights Last at Night
What are solar motion sensor lights?
Solar motion sensor lights are outdoor lights that are equipped with both a solar panel and a motion sensor. The solar panel collects sunlight during the day and converts it into energy, which is stored in a battery. The motion sensor detects movement and triggers the light to turn on for a predetermined amount of time, usually a few seconds to a few minutes.
These lights are designed to be installed in areas where lighting is needed temporarily, such as driveways, pathways, gardens, or entrances. They offer a convenient and energy-efficient solution compared to traditional wired lights. With solar motion sensor lights, you don’t need to worry about switches or timers, as they automatically turn on and off depending on the detected motion.
Benefits Of Using Solar Motion Sensor Lights
Solar motion sensor lights provide numerous benefits that make them a popular choice for outdoor lighting.
- Energy-efficient: Solar motion sensor lights rely on the sun’s energy, making them eco-friendly and cost-effective. By harnessing solar power, these lights can operate without the need for electricity from the grid.
- Easy installation: Since solar motion sensor lights are self-contained units, they require minimal installation effort. Unlike wired lights, there is no need for wiring or hiring professionals. Simply choose the desired location, secure the light in place, and ensure the solar panel receives sufficient sunlight.
- Enhanced security: One of the key advantages of solar motion sensor lights is their ability to enhance security. The motion sensor detects any movement and triggers the light to turn on, acting as a deterrent to potential intruders and providing a sense of safety.
- Cost-effective: Solar motion sensor lights require minimal maintenance and have no operating costs once installed. They rely solely on solar energy, eliminating the need for electricity bills or regular bulb replacements.
- Versatility: Solar motion sensor lights come in various designs, sizes, and styles to suit different outdoor aesthetics. Whether you prefer sleek and modern lights or rustic and traditional ones, there is a wide range of options available.
Types Of Solar Motion Sensor Lights
When it comes to choosing solar motion sensor lights, you’ll find several types to fit your specific needs. These include:
| Type | Description |
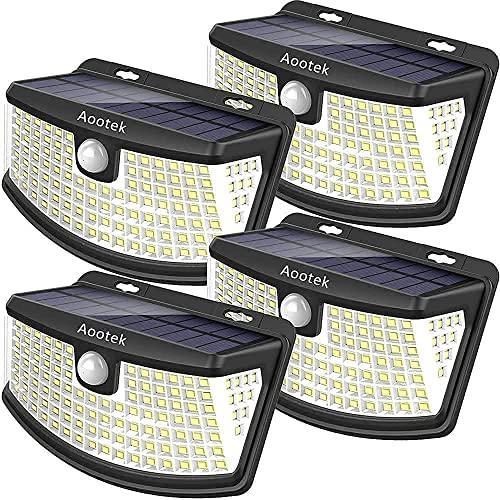
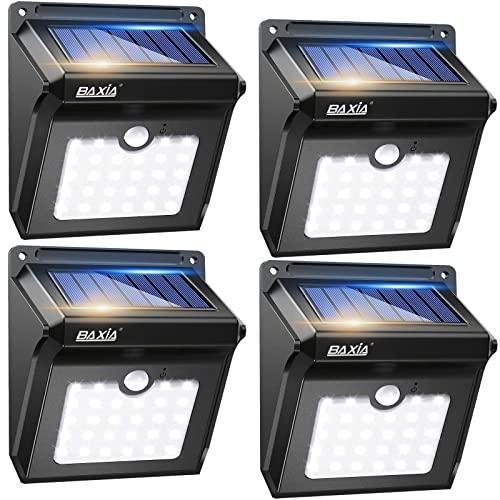
| All-in-One Solar Lights | These lights have the solar panel, battery, and motion sensor incorporated into a single unit, making them compact and easy to install. |
| Separate Solar Panel Lights | In this type, the solar panel is detached from the light, allowing you to place it in a location with maximum sun exposure while installing the light in a shaded area. |
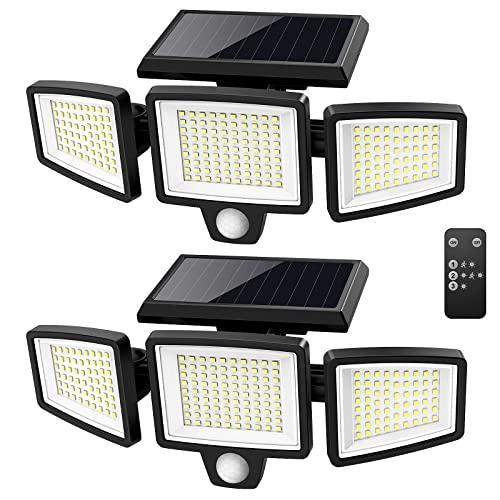
| Dual-head Head lights | These lights have two adjustable light heads, providing a broader coverage area. They are ideal for illuminating larger outdoor spaces. |
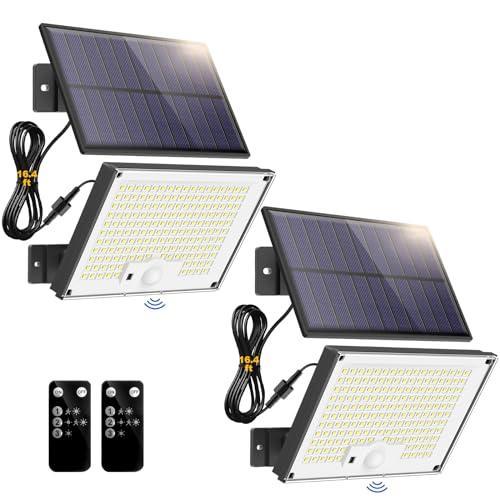
| Wireless Solar Lights | Wireless solar lights receive power from a separate solar panel connected through a cable. This allows for more flexibility in positioning the solar panel for optimal sun exposure. |
By understanding the different types of solar motion sensor lights, you can select the most suitable option that meets your lighting requirements and fits within your budget.
Planning The Installation Process
Installing solar motion sensor lights is a fantastic way to enhance the security and visibility of your outdoor spaces while reducing your energy consumption. To ensure a smooth and successful installation, it is crucial to plan the process carefully. In this section, we will cover the essential steps of planning the installation, including assessing the installation area, choosing the right solar motion sensor light, and gathering the necessary tools and materials.
Assessing The Installation Area
Before diving into the installation process, take some time to assess the area where you plan to install the solar motion sensor light. Consider the following factors:
- The amount of sunlight the area receives: Adequate sunlight is essential for the solar panel to charge the light’s battery effectively. Ensure the installation area receives a minimum of six to eight hours of direct sunlight per day.
- The range and angle of motion detection: Determine the specific areas you want the motion sensor light to cover. Assess if there are any potential obstructions or blind spots that may affect the light’s effectiveness.
- The proximity to the power source: Choose a location close to an electrical power source or an existing outdoor electrical outlet. This will make the installation easier and more convenient.
Choosing The Right Solar Motion Sensor Light
Since solar motion sensor lights come in various designs and specifications, it is essential to choose the one that best fits your needs. Consider the following factors when selecting the right light:
- The brightness and range: Look for lights with a higher lumen output and a sufficient motion detection range to ensure optimal visibility and security.
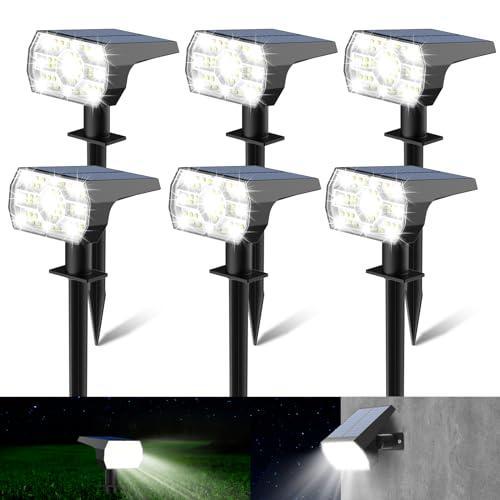
- The placement options are: Determine whether you need a wall-mounted light or a ground stake light, depending on your installation area’s characteristics.
- durability and weather resistance: Ensure the light is designed to withstand the outdoor elements, such as rain, snow, and extreme temperatures.
Gathering The Necessary Tools And Materials
Before starting the installation, gather all the necessary tools and materials to ensure a seamless process. Here are some of the essential items you will need:
how to install solar umbrella lights
| Tools | Materials |
| Drill | Solar motion sensor light |
| Screwdriver | Mounting screws |
| Pliers | Wire connectors |
| Tape measure | Outdoor-rated extension cord (if required) |
| Wire stripper | Extra batteries (if required) |
Having these tools and materials prepared beforehand will minimize interruptions and ensure a smoother installation process.
Step 1: Preparing For Installation
Before you jump into the exciting process of installing your Solar Motion Sensor Light, it’s important to take the necessary preparatory steps. This will ensure a smooth and successful installation, allowing you to harness the power of the sun and enjoy the added security of a motion-sensor light. In this step, we will guide you through checking the solar motion sensor light components, positioning the solar panel for optimal sunlight exposure, and mounting the light fixture securely. Let’s get started!
Checking The Solar Motion Sensor Light Components
Before you begin, go through the components to ensure everything is in place and ready for installation. Take a few moments to check that you have:
- The solar motion sensor light fixture
- The solar panel with its accompanying cable
- The mounting hardware
- The user manual for reference
Having these components at hand will make the installation process much easier and hassle-free.
Positioning The Solar Panel For Optimal Sunlight Exposure
The solar panel is a crucial part of your nation’s Solar Motion Sensor Light system, as it absorbs sunlight and converts it into energy. To ensure maximum efficiency, it’s essential to position the solar panel so it can receive abundant sunlight throughout the day. Here’s how:
- Identify an area that receives direct sunlight for most of the day.
- Clear any obstructions, such as tree branches, leaves, or other objects, that may cast shadows on the solar panel.
- Using the mounting hardware provided, securely attach the solar panel to a location that allows for optimal sunlight exposure.
- Ensure that the solar panel is angled correctly to capture sunlight efficiently. The user manual should provide specific instructions for the ideal angle based on your geographical location.
By positioning the solar panel properly, you’ll enhance the light’s performance and increase the overall effectiveness of your solar motion sensor light system.
Mounting The Light Fixture Securely
Now that the solar panel is positioned, it’s time to mount the light fixture securely at your desired location. Follow these steps to ensure a safe and reliable installation:
- Choose an appropriate location for the light fixture. This could be a wall, fence, or any other surface that can support the weight of the fixture.
- Using the mounting hardware provided, attach the light fixture to the chosen surface firmly.
- Ensure that the light fixture is angled correctly, pointing towards the desired area of illumination.
- Double-check the mounting to ensure it is secure, minimizing any potential movement or instability.
By mounting the light fixture securely, you’ll guarantee its longevity, durability, and optimal functionality in detecting motion and illuminating your surroundings when needed.
Step 2: Setting Up The Solar Panel
Now that you have chosen the perfect spot for your solar motion sensor light, it’s time to get the solar panel set up and ready to harness the sun’s energy. Follow these steps to ensure proper installation and maximum solar power generation.
Mounting The Solar Panel On A Sturdy Surface
First, find a sturdy surface near the light fixture where you can mount the solar panel. Ideally, this should be a spot that receives ample sunlight throughout the day. Use screws or brackets to securely attach the solar panel to the surface, ensuring it is positioned at an optimal angle for solar absorption.
Aligning The Solar Panel To Capture Maximum Sunlight
The solar panel’s effectiveness greatly depends on its alignment with the sun. To ensure maximum sunlight exposure, position the solar panel facing south (in the northern hemisphere) or north (in the southern hemisphere). This way, it will align with the sun’s path and make the most of the available daylight hours. Additionally, make sure there are no obstructions, such as trees or buildings, casting shadows on the solar panel.
Connecting The Solar Panel To The Light Fixture
Now it’s time to connect the solar panel to the light fixture. Locate the cables coming from the solar panel and the light fixture. These cables typically have connector plugs that match and can easily be plugged together. Ensure a secure connection between the solar panel and the light fixture, as this will enable the transfer of solar energy for uninterrupted lighting performance.
Once properly connected, the solar panel will start absorbing energy from the sun and converting it into power for the motion sensor light. Keep in mind that it may take a few days for the solar panel to fully charge the light’s batteries. So, don’t be disheartened if the light doesn’t work immediately after installation. Patience will pay off when you witness the full potential of solar energy in action.
Step 3: Installing The Light Fixture
Positioning The Light Fixture At The Desired Location
Once you have chosen a suitable location for you to install solar motion sensor lights, it’s time to position the light fixture. Consider the following steps:
- Ensure the solar panel on the light fixture is exposed to direct sunlight for maximum efficiency.
- Use a ladder or step stool, if necessary, to reach the desired installation height.
- Make sure the area where the light will shine is clear of any obstructions, such as branches or other objects.
- Align the light fixture with the desired direction you want the light to illuminate.
Securing The Fixture With Screws Or Adhesive
After ensuring the proper placement of the light fixture, it’s time to secure it in place. Follow these steps:
- Determine the appropriate method of attachment for your specific light fixture. It can be secured with screws or adhesive, depending on the design.
- If using screws, mark the mounting holes on the surface where the fixture will be attached.
- Drill pilot holes for the screws to prevent damage to the surface and make installation easier.
- Align the holes on the back of the light fixture with the pilot holes.
- Use screws to fasten the light fixture securely to the surface.
- If using adhesive, clean the surface thoroughly and apply the adhesive as per the manufacturer’s instructions.
- Hold the light fixture firmly against the surface for the specified amount of time to ensure proper adhesion.
Adjusting The Motion Sensor Settings
Once the light fixture is securely installed, it’s essential to adjust the motion sensor settings to optimize its performance. Take the following steps:
- Locate the motion sensor on the light fixture. It is usually located on the lower front or side of the fixture.
- Refer to the user manual or instructions provided with your specific light fixture to understand how to adjust the motion sensor settings.
- Common settings to consider include the duration of light when motion is detected, the sensitivity of the sensor, and the range of detection.
- Test the settings by walking within the detection range of the sensor and observing how the light responds.
- Make the necessary adjustments to the settings until you are satisfied with the light’s performance.
Step 4: Testing And Troubleshooting
Congratulations! You’ve successfully installed your solar motion sensor light. But before you call it a day, it’s vital to test and troubleshoot the functionality to ensure everything is working as it should. This step will help you identify any issues with the installation or the light itself, so you can address them promptly. Let’s dive into the details!
Testing The Functionality Of The Solar Motion Sensor Light
It’s essential to test the functionality of your solar motion sensor light to ensure it operates as expected. Here’s how you can do it:
- Activate the sensor: Walk towards the light, and it should turn on automatically. The sensor should detect your movement within the designated range. If the light doesn’t activate, check if the solar panel is receiving adequate sunlight or if the motion sensor is unobstructed.
- Check the illumination. Observe the brightness of the light. A well-functioning solar motion sensor light should emit strong and consistent illumination. If the brightness is too dim or flickering, it might indicate a battery or solar panel issue. Verify that the battery is fully charged and that the solar panel is exposed to sufficient sunlight.
- Adjust the sensitivity and duration: Some solar motion sensor lights allow you to adjust the sensitivity and lighting duration. Test different settings to find the optimal configuration for your needs. Ensure the detection range covers the desired area, and adjust the lighting duration to your preference.
Troubleshooting Common Installation Issues
During the installation process, you may encounter some common issues. Here are a few troubleshooting tips for a smooth experience:
| Problem | Solution |
| The light doesn’t turn on at night | Check if the switch is in the correct position and verify that the battery is fully charged. Make sure nothing that could block sunlight is obstructing the solar panel. |
| The light stays on all the time | Check if the motion sensor is obstructed. Remove any objects that may be triggering the sensor unnecessarily, such as nearby plants or branches. |
| Inconsistent motion detection | Ensure the motion sensor is positioned correctly and adjust its angle if necessary. Make sure there are no sources of heat or movement nearby that could interfere with the sensor’s functionality. |
Taking Proper Maintenance Measures For Optimal Performance
To ensure your solar motion sensor light operates at its best, it’s essential to take some maintenance measures. Here are a few tips:
- Regularly clean the solar panel surface to remove dirt, dust, or debris that may affect solar energy absorption. Use a soft cloth or sponge and a mild detergent if needed.
- Keep the surrounding area free from obstructions that could cast shadows on the solar panel, obstructing sunlight.
- Replace the battery when necessary. Over time, the battery’s capacity may decrease, affecting the light’s performance. Refer to the manufacturer’s instructions for battery replacement guidelines.
- Inspect the light for any loose connections, wires, or damaged parts. Tighten any loose screws or connections, and replace any faulty components as needed.
By following these testing, troubleshooting, and maintenance steps, you can ensure that your solar motion sensor light functions optimally, providing you with enhanced security and convenience. Enjoy the benefits of a well-lit and energy-efficient outdoor space!
FAQs: How To Install Solar Motion Sensor Light
Where Is the Best Place to Put Solar Motion Lights?
The best place to install solar motion sensor light is in areas that receive direct sunlight for maximum charging, such as entrances, driveways, and pathways. Make sure to mount them at a height that allows easy access for maintenance and provides optimal lighting coverage.
Do You Need an Electrician to Install a Motion Sensor Light?
Yes, you should hire an electrician to install a motion-sensor light. They have the expertise to safely handle electrical connections and ensure proper installation.
Why is my solar motion sensor light sensor not working?
If your solar motion sensor light sensor is not working, try checking the battery, ensuring it is properly connected, and cleaning the sensor. Also, make sure there is no obstruction blocking the sensor’s view. If the issue persists, contact the manufacturer for further assistance.
How Do I Install a Solar Motion Sensor Light?
How to Install Solar Motion Sensor First, choose a location that receives ample sunlight. Then, mount the light using screws or adhesive. Make sure the solar panel faces the sun and the motion sensor points toward the desired area.
Finally, test the light to ensure it’s working properly.
Conclusion
Installing a solar motion sensor light is a simple and cost-effective way to enhance the security of your home or property. By following the step-by-step guide outlined in this blog post, you can easily incorporate this eco-friendly lighting solution into your outdoor space.
With its ability to detect movement and instantly illuminate dark areas, a solar motion sensor light offers both convenience and peace of mind. Take the initiative and start harnessing the power of the sun to light up your surroundings today.