
How to Connect Solar Inverter to WiFi?
To connect a solar inverter to WiFi, follow these steps: configure the inverter’s WiFi settings, connect to the network via the inverter’s web interface, and enter the WiFi credentials. It is important to ensure that the inverter and WiFi network are compatible and that the WiFi signal is strong enough to reach the inverter location.
The ability to connect a solar inverter to WiFi opens up a range of benefits, such as remote monitoring and control of the system. By connecting your inverter to a WiFi network, you can easily access real-time data and make adjustments to optimize performance.
In this guide, we will walk you through the steps on how to connect a solar inverter to WiFi, allowing you to take full advantage of the features and capabilities of your solar system. So, let’s get started!
Benefits Of Connecting Your Solar Inverter To WiFi
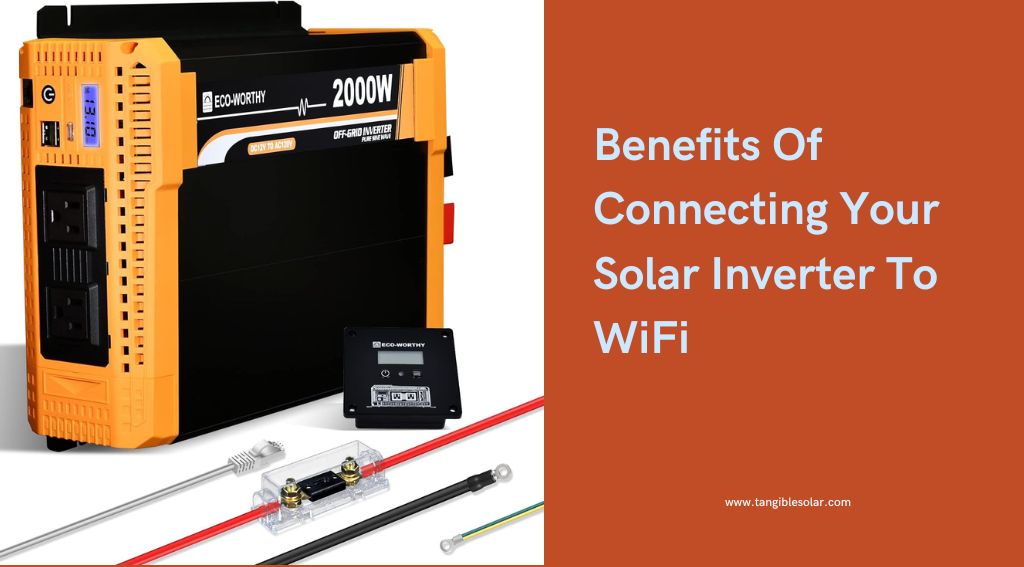
Increased Monitoring Capabilities
Connecting your solar inverter to WiFi offers a range of significant benefits. For starters, it provides you with increased monitoring capabilities, allowing you to keep a closer eye on your solar power system’s performance. With easy access to real-time data and detailed insights, you can have a better understanding of how your system is operating and optimize its efficiency accordingly.
How to Connect Generator to Solar Inverter
Real-time Data Access
By connecting your solar inverter to WiFi, you gain the advantage of having real-time data access right at your fingertips. This means you can instantly view important information such as energy production, overall system performance, and even individual panel efficiency. With this data, you can make informed decisions regarding energy usage, grid consumption, and potential savings.
Remote Troubleshooting
One of the most convenient benefits of connecting your solar inverter to WiFi is the ability to perform remote troubleshooting. This not only saves time but also minimizes costly service calls.
Enhanced System Performance
Connecting your solar inverter to WiFi results in enhanced system performance. With continuous access to real-time data, you can identify any anomalies or inefficiencies promptly. This allows you to address potential issues immediately, ensuring your system operates optimally and maximizing your solar energy production. With better system performance, you can reap the full benefits of your investment and potentially save more on your electricity bills.
In conclusion, connecting your solar inverter to WiFi provides several benefits, including increased monitoring capabilities, real-time data access, remote troubleshooting, and enhanced system performance. By taking advantage of these benefits, you can effectively manage your solar power system, optimize its performance, and reap the financial rewards of renewable energy.
Preparing To Connect Your Solar Inverter To Wifi
Connecting your solar inverter to WiFi allows you to monitor your solar system’s performance, troubleshoot issues, and optimize energy production conveniently from your smartphone or computer. To ensure a smooth and successful setup, there are a few essential steps you should follow. In this guide, we will walk you through each step of preparing your solar inverter for WiFi connectivity.
How to Connect Solar Inverter to House
Check the Compatibility Of Your Solar Inverter With Wi-Fi connectivity
Before diving into the setup process, it is crucial to check if your solar inverter is compatible with WiFi connectivity. Not all inverters can connect to a wireless network, so it’s essential to verify this compatibility before proceeding. Most modern inverters come with WiFi capabilities, but it’s good to double-check, especially if you have an older system.
A Stable And Reliable WiFi Network
Having a stable and reliable WiFi network is paramount for seamless communication between your solar inverter and monitoring devices. Before connecting your inverter to WiFi, make sure that your WiFi network is up and running with a strong signal and steady internet connection. A weak or unstable WiFi network can lead to frequent disconnections and hinder the monitoring and control of your solar system.
Gather the necessary equipment and information.
Before you begin the setup process, gather all the necessary equipment and information you’ll need. This includes:
- Your solar inverter’s user manual or documentation
- Your WiFi network name (SSID) and password
- A smartphone, tablet, or computer with WiFi capabilities
- An Ethernet cable (if required by your inverter)
Gathering these items beforehand will save you time and ensure a smooth setup process.
Understand the Setup Process
Before you start connecting your solar inverter to WiFi, it is crucial to understand the setup process. Familiarize yourself with the steps outlined in your inverter’s user manual, so you know what to expect. In general, the process involves:
- Accessing your inverter’s settings or control panel
- Locating and selecting the WiFi setup option
- Entering your WiFi network name (SSID) and password
- Verifying the connection and saving the settings
Each inverter may have slightly different steps, so it’s important to follow the instructions provided in your specific inverter’s documentation.
By following these steps, you will be well-prepared to connect your solar inverter to WiFi seamlessly and start reaping the benefits of remote monitoring and control.
Step-by-step Guide To Connecting a Solar Inverter To WiFi
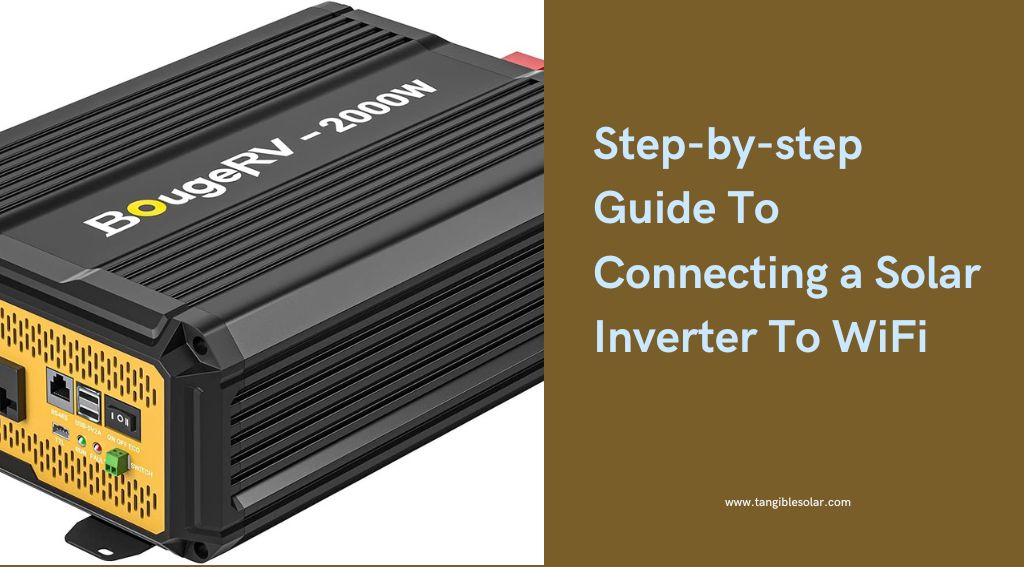
In today’s technologically advanced world, connecting your solar inverter to WiFi has become a vital aspect of monitoring and managing your solar energy system. With a wireless connection, you can easily access real-time data, receive notifications, and control your solar inverter remotely. In this step-by-step guide, we will walk you through the process of connecting your solar inverter to WiFi, ensuring you can harness the full potential of your solar energy system.
Step 1: Access The Solar Inverter’s Settings Menu
The first step in connecting your solar inverter to WiFi is to access its settings menu. Depending on the model and brand of your solar inverter, you may need to use a mobile app or a web browser to access the settings. Refer to the user manual or manufacturer’s instructions to determine the specific method for your inverter.
Step 2: Navigate To The WiFi Setup Option
Once you have accessed the settings menu, look for the WiFi setup option. This option is usually found under the “Network” or “Connection” settings. Selecting this option will initiate the process of connecting your solar inverter to a WiFi network.
Step 3: Select Your WiFi Network From The Available Options
After selecting the WiFi setup option, you will be presented with a list of available WiFi networks in your vicinity. Identify your network from the list and choose it as the target network for your solar inverter. Ensure that your inverter and the device you are using to configure it are connected to the same WiFi network.
Step 4: Enter Your WiFi Network Password
Once you have selected your WiFi network, it’s time to enter the network password. This step ensures the security of your network and prevents unauthorized access to your solar inverter. Carefully input the password using the provided text input field. Double-check for any typos or errors before proceeding.
Step 5: Confirm The Connection And Wait For The Solar Inverter To Connect To The Wifi Network
After entering the WiFi network password, hit the “Connect” or “Apply” button to establish the connection between your solar inverter and the WiFi network. Once confirmed, your solar inverter will attempt to connect to the network. This process may take a few minutes, so exercise patience during this time. The LED indicators on your inverter will indicate the status of the connection.
Congratulations! You have successfully connected your solar inverter to WiFi. As the connection is established, you can now remotely monitor your solar energy system, access real-time data, and ensure optimal performance.
Troubleshooting Common Issues During the WiFi Connection
When it comes to connecting your solar inverter to WiFi, you may encounter some common issues that can impede a successful connection. Understanding these issues and knowing how to troubleshoot them can help you effectively connect your solar inverter to your WiFi network. In this section, we will discuss some of the most frequently encountered issues and provide solutions to overcome them.
Weak Wi-Fi signal Strength
If you are experiencing difficulty connecting your solar inverter to WiFi, weak signal strength could be the culprit. A weak WiFi signal can result in a poor connection or no connection at all. To troubleshoot this issue, consider the following:
- Ensure that your inverter is located within the range of your WiFi router. If it is too far away, consider moving it closer or installing a WiFi repeater or extender.
- Check for any obstacles that may be blocking the WiFi signal, such as walls or large objects. Rearranging the setup to minimize obstruction can significantly improve signal strength.
- Check if there are any other electronic devices operating on the same frequency as your WiFi network that might cause interference. If so, try moving your inverter or WiFi router away from these devices.
Incorrect Network Credentials
Having incorrect network credentials can also prevent your solar inverter from connecting to WiFi. To resolve this issue, follow these steps:
- Double-check the WiFi network name and password you have entered into the inverter’s settings. Make sure there are no typographical errors.
- If you recently changed your WiFi network password, ensure that you have updated the password in the inverter’s settings accordingly.
- Try connecting another device, such as a smartphone or laptop, to the same WiFi network using the same credentials. If the device connects successfully, then the issue may be with the inverter itself.
Firmware Or Software Updates are required.
Outdated firmware or software can cause compatibility issues, resulting in a failed WiFi connection. To resolve this issue, consider the following:
- Check the manufacturer’s website or user manual for any available firmware updates for your solar inverter.
- If an update is available, download the latest firmware version and follow the manufacturer’s instructions to install it on your inverter.
- Ensure that your smartphone, tablet, or computer has the latest software updates. Sometimes, an outdated device operating system can cause compatibility problems.
Compatibility Issues With The WiFi Network
If you are unable to connect your solar inverter to a specific WiFi network, there may be compatibility issues at play. Consider the following steps to troubleshoot this problem:
- Check the supported WiFi standards of your inverter. Ensure that the network you are attempting to connect to is compatible with these standards.
- Restart your WiFi router and your solar inverter. Sometimes, a simple reboot can resolve compatibility issues.
- If you are connecting your inverter to a guest network, try connecting to the main network instead. Some devices may have limitations when connecting to guest networks.
Maximizing The Benefits Of A WiFi-connected Solar Inverter
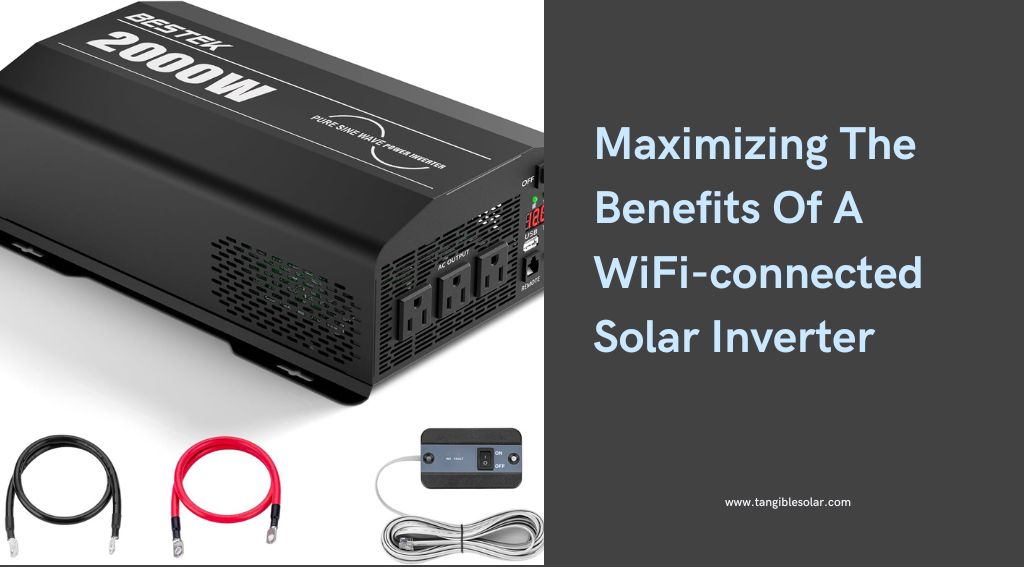
Maximizing the Benefits of a WiFi-connected Solar Inverter
A WiFi-connected solar inverter opens up a whole new world of possibilities for monitoring, analyzing, and optimizing your solar power system. By seamlessly integrating with your home network, you can access real-time data on your solar power production, receive instant notifications for system alerts and updates, and even make performance adjustments based on the monitoring data. In this article, we will explore the features and functionalities of the solar inverter monitoring software, guide you through the process of setting up email or app notifications, and show you how to monitor and analyze your solar power production data to optimize the performance of your system.
Explore The Features And Functionalities Of The Solar Inverter Monitoring Software
The solar inverter monitoring software is the key to unlocking the full potential of your WiFi-connected solar inverter. This powerful tool allows you to track the performance of your solar power system in real-time, providing you with valuable insights to make informed decisions. With the monitoring software, you can:
- Monitor your system’s solar power production and consumption
- View historical production data and compare it with previous periods
- Track the performance of individual solar panels or string inverters
- Analyze energy usage patterns and identify areas for improvement
- Access system diagnostics and troubleshoot any issues
Set Up Email Or App Notifications For System Alerts And Updates
Stay informed about your solar power system’s performance with email or app notifications. By setting up alerts, you can receive instant updates on important events, such as:
- System errors or faults
- Performance issues or drops in energy production
- Unusual energy consumption patterns
- Software updates or firmware upgrades
To set up these notifications, simply navigate to the settings section of your solar inverter monitoring software and configure the preferences for email or app alerts. Ensure that the email address or app notification settings are correctly entered to ensure timely and accurate notifications.
Monitor And Analyze Your Solar Power Production Data
One of the most significant advantages of a WiFi-connected solar inverter is the ability to monitor and analyze your solar power production data. By reviewing this data, you can gain valuable insights into the performance of your system and identify opportunities for optimization. Use the monitoring software to:
- Track daily, weekly, monthly, and yearly energy production
- Identify trends and patterns in energy generation
- Set performance benchmarks and goals
- Compare your system’s performance with other solar power installations
The data collected through monitoring will empower you to make informed decisions about your energy usage and system optimizations, ultimately maximizing your solar power production.
Optimize System Performance Based On The Monitoring Data
Now that you have access to crucial monitoring data, it’s time to put it to good use. Leverage the insights garnered from the data analysis to optimize the performance of your solar power system. Some optimization strategies may include:
- Adjusting the angle or position of solar panels for optimal sunlight exposure
- Cleaning solar panels to remove dust, dirt, or debris that can hinder performance
- Identifying and rectifying any faults or issues in the system
- Installing additional solar panels or batteries to meet increased energy demands
By continuously monitoring and optimizing your solar power system based on the data collected, you can ensure that your system is performing at its best and maximize the benefits of your WiFi-connected solar inverter.
Frequently Asked Questions For How To Connect Solar Inverter To Wifi
How Do I Connect My Inverter to the Internet?
To connect your inverter to the Internet, follow these steps: 1. Ensure your inverter has Wi-Fi or Ethernet capability. 2. Connect the inverter to your home network using the provided instructions. 3. Access the inverter’s settings page using a web browser on your computer or smartphone.
4. Enter your network credentials to connect the inverter to your Wi-Fi network. 5. Once connected, you can monitor and control your inverter remotely using the manufacturer’s app or website.
Can We Connect WiFi to an Inverter?
Yes, you can connect WiFi to an inverter.
Does a solar inverter work without WiFi?
Yes, a solar inverter can work without WiFi. WiFi is not essential for basic functioning, but it can provide additional features like remote monitoring and control.
How Do I Connect My Solar Inverter to WiFi?
To connect your solar inverter to WiFi, you will need to follow these steps:
1. Ensure your WiFi network is available and the password is handy. 2. Access the settings menu on your inverter and select the wifi network option. 3. Choose your wifi network from the available options and enter the password when prompted. 4. Once connected, your solar inverter will be linked to your WiFi network, allowing you to monitor and control it remotely.
Conclusion
Connecting your solar inverter to WiFi is a simple and effective way to monitor and control your system remotely. By following the steps outlined in this blog post, you can ensure a seamless integration of your solar inverter with your home network.
Stay connected and enjoy the benefits of real-time monitoring and optimization of your solar energy system.